
Tutorial - Integrating Calendly, Salesforce with Outlook, and Monday using Apex
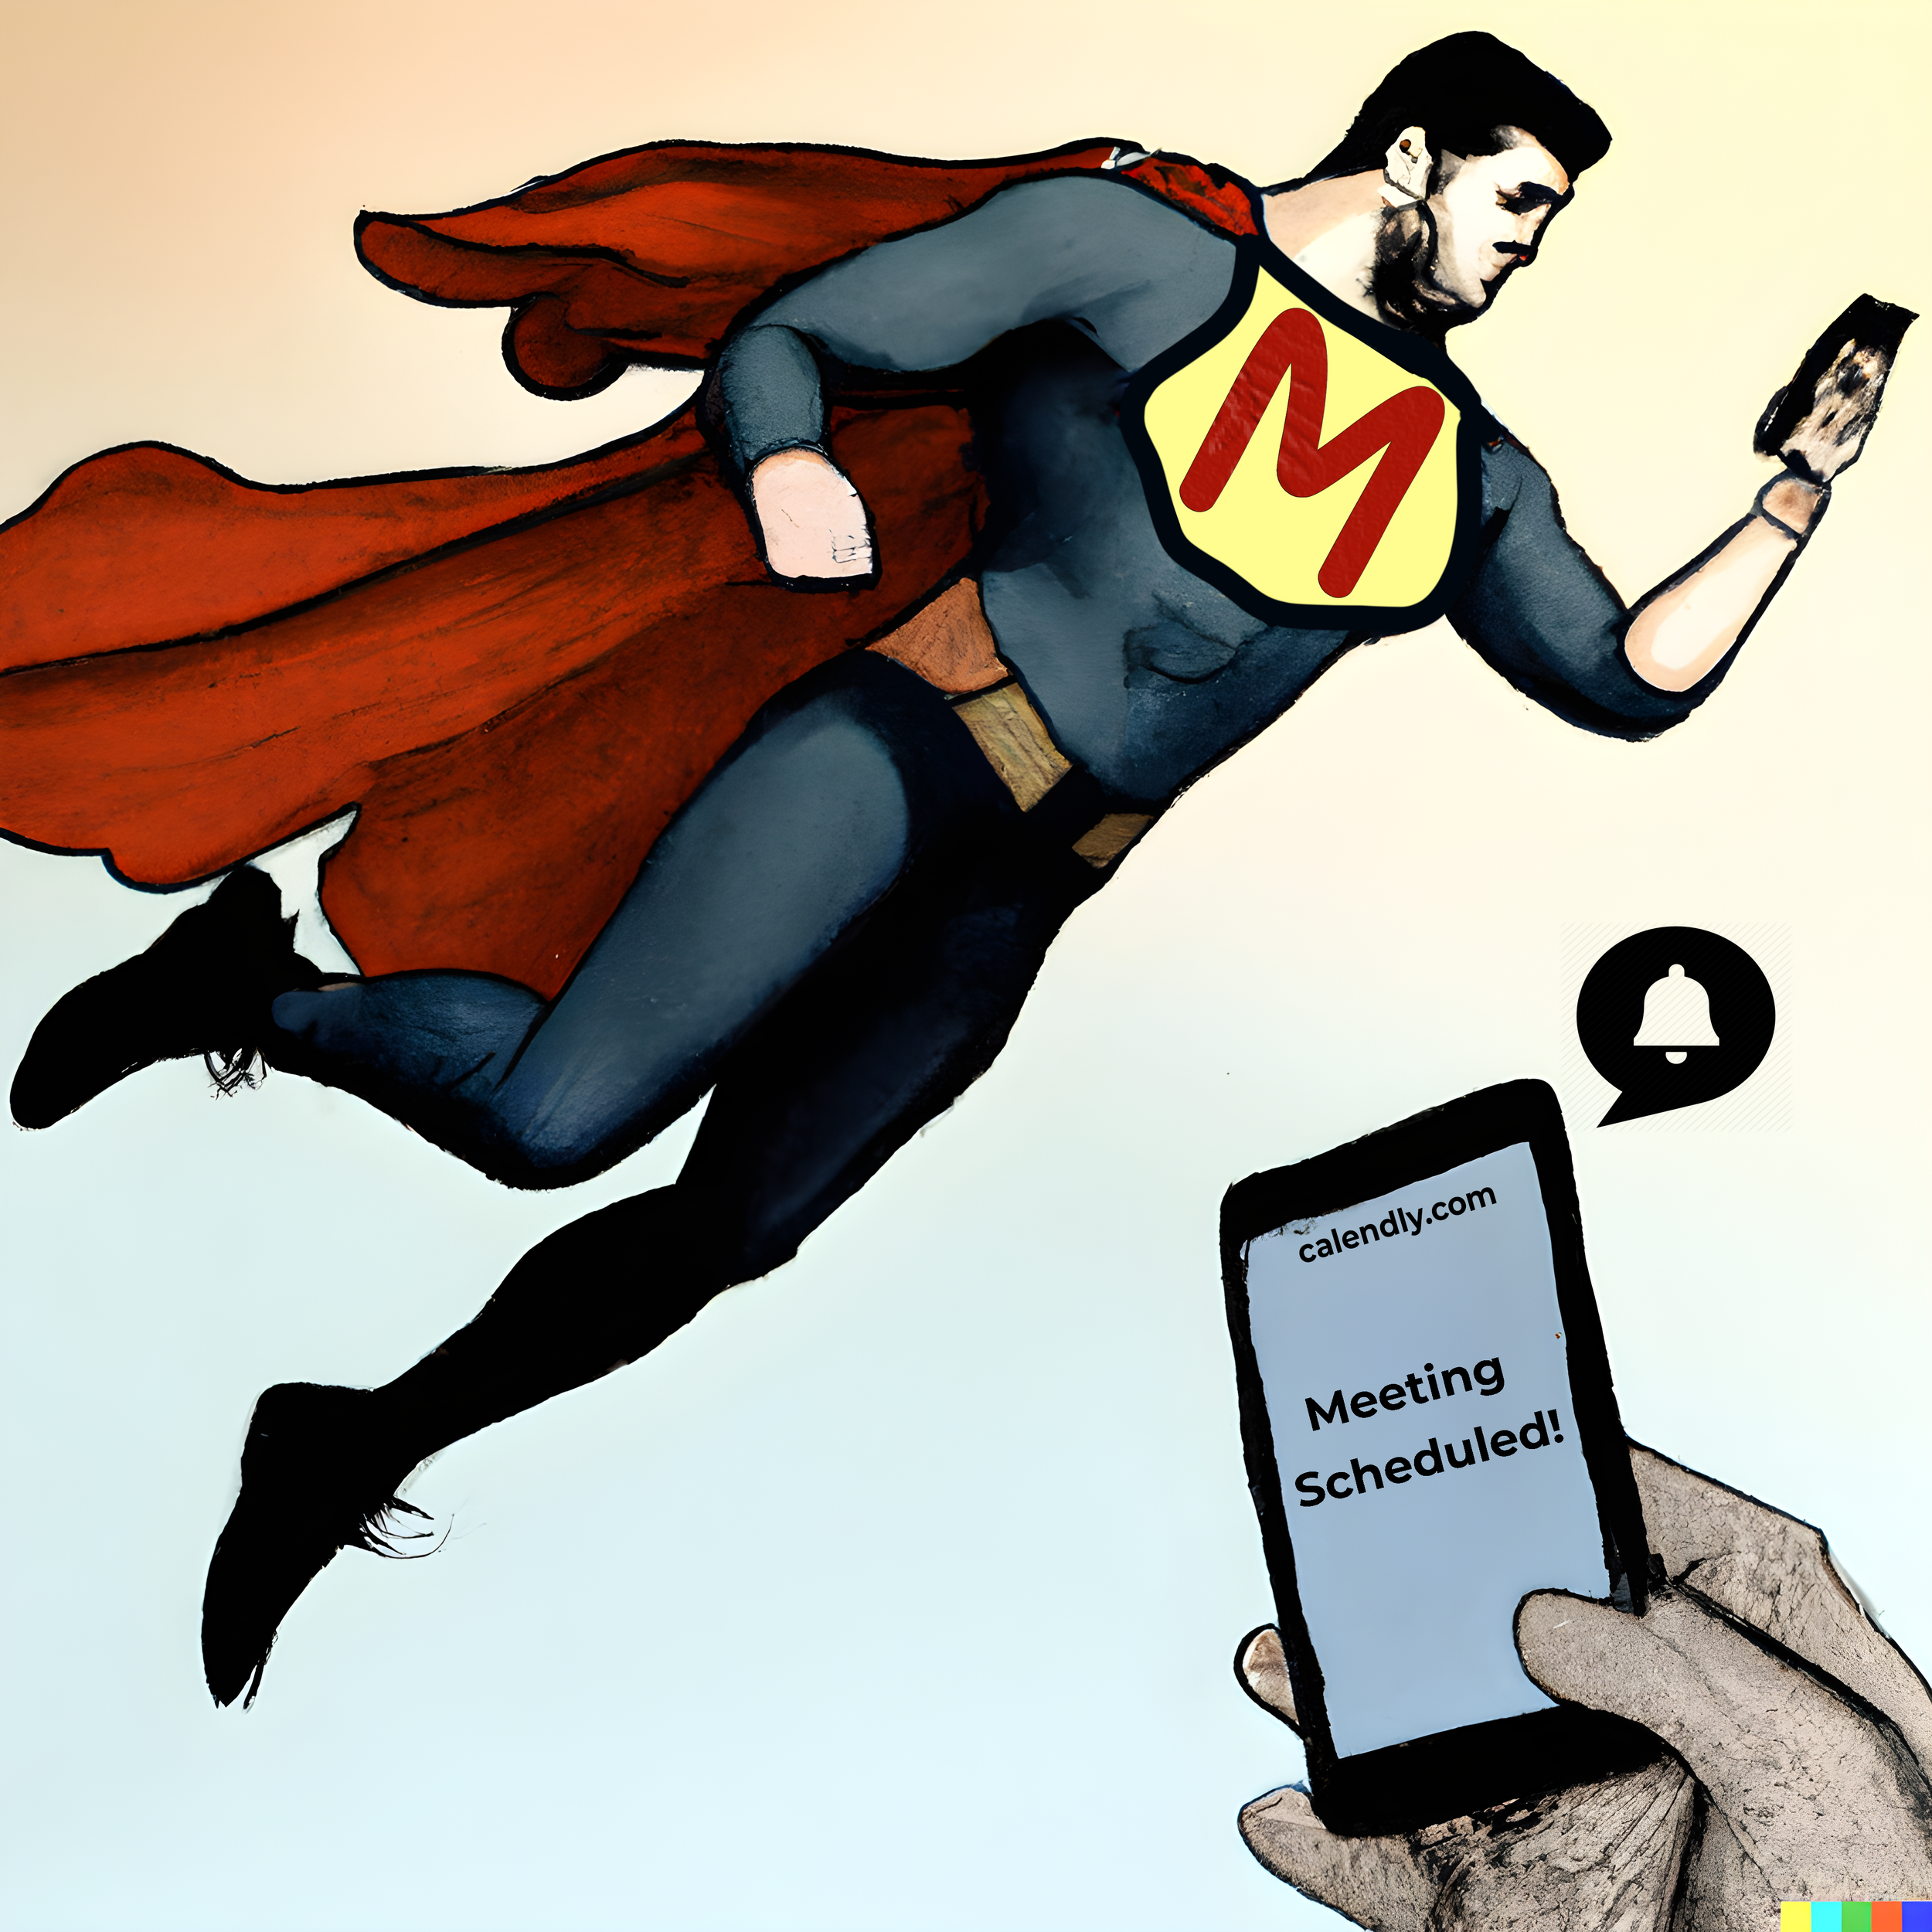
Illustration by Insight Bundle in collaboration with OpenAI Dall·E
Introduction.
This tutorial shows step-by-step how to integrate Calendly to Salesforce, Salesforce with Monday and Outlook. We will use the official Calendly Salesforce Package. We will also install a Monday Package on Salesforce to integrate Monday with Salesforce.
Diagram 1 - Architecture of project, flowchart of information.
Table of Contents
Summary
In order to do the integration, we will configure Calendly so we can create a lead in Salesforce. We will do this by creating an integration onsite. Next, on Salesforce we will configure Einstein Activity Capture (a tool that will allow us to connect our Salesforce events to our email calendar) and follow the procedure to connect our e-mail account to Einstein.
Still, on Salesforce, we will create New Custom Labels and provide them a value for the code to run, which we will install the Monday Package in the last step.
On Monday, we will create a board to store the tasks and access Monday’s API to configure the values. Once the previous process is completed, we will install a Monday Package (which contains the components) in Salesforce, this will allow the automation to be done.
Demo Video
Video: Demo showcasing the integration between Calendly, Salesforce and Monday
Software used
The integration is done using the following software
Calendly
Used to schedule meetings, you can integrate it to your own website or you can send the link to prospective clients. For this project you need Calendly Profesional.
Salesforce
Cloud-based CRM ( Customer Relationship Management) that will help us to track all of our Calendly leads.
Outlook
Known and used for emails in most business, part of Microsoft Office tools.

Monday
Versatile tool that helps you in project management. Will help us follow-up and do proper project management for our clients.
Pricing Plans Used
For this project, we are using a free plan for Monday and it is a MUST to use Teams Version on Calendly because starting from that plan, it unlocks the feature of integrations with other apps.
You can use any edition of Salesforce for this project.
Image: Pricing Plans for Calendly
Calendly Configuration
For Calendly it is necessary to upgrade to the Teams plan, which will allow us to integrate directly with Salesforce and sync the created events. Then, after purchasing the Teams plan, now we are going to be allowed to make integrations with Salesforce.
Setting up Salesforce integration
a) In the tab “Integrations”, select “Sales and CRMs”, and select Salesforce.
Image: Integrations Menu from Calendly
b) Now, it will ask permission to access Salesforce. In case you haven’t signed it yet, it will ask you to log in with your credentials.
c) Once logged in, click the “Approve” button.
d) After you approve the request of Calendly to connect with Salesforce, ensure the integration status is shown as “Good!” when finished.
Image: Connection with Salesforce done
Personalizing our Calendly Invitation Link
This set of instructions will let you edit and personalize your Calendly invitation link and capture your lead's information.
a) Click the settings icon and click “Edit”, this will let you modify the functionality of the link
Image: Invitation link settings
b) Select the “Invitee Questions”, here you can add questions to get the information you need from the user. This information will be stored as a Lead later in Salesforce.
Image: Editing button for our invitation link
c) Save your Calendly invitation link because we will be needing it for the testing phase. This link is located on your home page.
Monday Configuration
Follow this process to integrate Monday with Salesforce.
a) Select the board you want to target and copy the highlighted numbers that appear at the end of the URL. These numbers are the ID of the board.
Image: Getting the ID of the board on Monday
b) Now we need to get our API Token, which we will be needing later for customizing Salesforce configurations.
Hover over the profile icon and select “Admin”
Image: Navigating to Monday Admin Section
c) Go to the API tag, which will show us the Monday Personal API Token. We will need this when we make the integration with Salesforce using Monday’s API. Save this for later as we will be using it to use the Monday Playground.
Image: Getting the Personal API Token
d) We go to this link, this link will redirect us to the Monday Playground.
e) Enter the Personal API Key from the previous section and then click “Start with this API token”.
Note: This step will be and can only be done once, as the Key will be saved already.
Image: Getting access to modify Monday using our API Token
Salesforce Configuration
CreateEvent Template’ Flow
As shown in the Calendly section, we created a direct integration with Calendly to create a lead automatically on Salesforce as we schedule a meeting on Calendly.
Because of this integration, Salesforce has automatically created the ‘CreateEvent Template’ Flow which can be edited, saved, and activated as a new Flow. With the help of this flow, a new Event for the Lead is created on Salesforce.
Image: CreateEvent Template Flow located in Salesforce
Sync Events between Salesforce and Outlook Email Calendar using Einstein Activity Capture
Giving a user access to standard Einstein Activity Capture.
a)Before we start configuring Einstein Activity Capture, make sure that the users you wish to add have permission to access Einstein Activity Capture.
Head over to Setup, in the Quick Find Box search and click “Permissions Sets” and search for “Standard Einstein Activity Capture”, then click on its name.
Image: Assigning Permission Sets for Einstein
b)· Select the “Manage Assignments” tab, once it opens, then select “Add Assignments”.
Image: Managing Assignments Button
c) Select on each box which users we want to assign Einstein to and then proceed to click the “Assign” button. This will permit them to access the email calendar Feature.
Image: Assigning Einstein Activity Capture permissions
Reference Links:
https://help.salesforce.com/s/articleView?id=aac_setup_select_users.htm&type=5&language=en_US
https://help.salesforce.com/s/articleView?id=sf.aac_setup_assign_standard.htm&type=5
https://help.salesforce.com/s/articleView?id=sf.aac_setup_parent.htm&type=5
How to Sync Email & Calendar w/ Einstein Activity Capture | Salesforce
Salesforce- Connect Salesforce to Exchange or Google
Before Einstein Activity Capture can access users’ email and calendar data, you must connect Salesforce and your Exchange or Google application. The choices of how to connect and authenticate users depend on which email and calendar application you use.
For this tutorial, we are connecting Einstein Activity Capture with User-Level Authentication with an Exchange account.
a) From Setup, in the Quick Find box, enter Einstein Activity Capture, and then select Settings. If it’s your first time setting up Einstein Activity Capture, the setup flow guides you through the steps. If you already set up Einstein Activity Capture before and want to change the authentication method, reset Einstein Activity Capture.
Image: Getting started with Einstein Activity Capture
b) Select the email and calendar application that your company uses.
Image: Selecting our Email and Calendar Service
c) If you selected Microsoft Office 365 or Microsoft Exchange, choose the user-level option as your authentication method. If you selected Google, the user-level option is the default.
d) Write a name for the configuration we are going to create and describe what it does
Image: Choosing an Authentication Method
Image: Naming our configuration
e) Select the Sync Settings you want to enable or disable
Image: Enabling Sync Settings buttons
f)The Advanced Settings menu will then appear, where you can further customize what filters and conditions each data flow will have; this settings menu allows you to choose what works best for you.
Image: Advanced Settings for the sync
g) Finally, you may add users or profiles to the Einstein Activity Capture Feature; only those who have their email calendar synchronized with Salesforce will have their email calendar synced.
Ensure that your users have access to Einstein Activity Capture; otherwise, they will not show on the menu.
After we've selected the users, click save to save the configurations.
Image: Adding Users and Profiles to Einstein
h) This part of the setup lets you add an email address or domain to the Excluded Addresses list, email and events associated with the person or company aren’t added to the activity timeline of related Salesforce Records.
Image: Exclude Addresses section
i) In this step, you can define how users share their activities, sharing settings only apply to activities that are automatically added to the activity timeline of related Salesforce records.
Image: Setting Activity Sharing
j) Once we finish these steps, the configuration will be created and therefore, will be active.
Image: Configurations saved on Einstein
If you use a Microsoft Exchange on-premises server, make sure that you allow the necessary network access.
To create another configuration for Einstein Activity Capture, click “New Configuration” and you must follow the same process as shown before.
End User Setup for Einstein
For the sync to work, the email account on your user record must be linked to Salesforce. In this section of the lesson, we will log in to Office 365 using User-Level Authentication.
a) We need to link an account to Einstein. To do so, go to your profile settings and search for "Email and Calendar Accounts" in the Quick Find Box.
b) It will ask you to log in with the credentials of the account you wish to connect
Image: Selecting an account to connect
c) The connection will be established after you log in to the account. It's as simple as that.
Image: Connected accounts section
Creating New Custom Labels
We must first create Custom Labels before installing the Monday package because we will be utilizing them for specific classes in the code.
To create a New Custom Label we need to go to “Setup” and search for “Custom Labels” in the Quick Find Box “, select the tag and click “New Custom Label”.
https://help.salesforce.com/s/articleView?id=sf.cl_edit.htm&type=
Image: Setting up email template
Reference Links:
Creating “Board_id” Custom Label
a) We will create a new label named “Board_id” (the name of the label must be the same as the one we provide, as this is the same name of the class we use in our code).
b) Because we are targeting the Monday board, in the “Value” field we have to add the board ID where you want your tasks to appear. We explained how to get this ID in the Monday section above.
c) You can add a short description for the label (this doesn’t have to be the same)
d) Click “Save & New”
Image: Creating New Custom Label
As you can see, the new custom label you just created, now appears in the custom labels list.
Image: Filling Automation Rules description
Creating “Group_id” Custom Label
a.) Create the label with the same name provided, a short description, and write on the “Value” text box: “topics”.
Image: Creating Custom label
b) Now on Monday, go to the “Developers” tag.
Image: Monday Developers section
c) In the top menu, hover over “Developer”, and a dropdown menu will appear, select “API Playground”
Image: API Playground section
d) Delete the code that it appears.
Image: API Playground code section
e) And then paste the following snippet:
query {
boards (ids: 2693956780)
{
groups ()
{ id title }
}
}
Image: API Playground snippet
f) Once we run it we can see on the right the information of the boards and their groups.
Image: Filling program details
g) Here we can see the group ID and the group title now appears on our Monday API:
Image: Identifying the group ID and group title
Creating “Monday_API_Token” Custom Label
a) Use the same name we provided as shown on the right side of the picture.
b) Paste the Personal API Token into the “Value” text box. (we followed the process to get this token in the Monday Section above)
c) Click “Save & New”
Image: Filling in details of the Custom Label
d) After we have finished building these Custom Labels, we can install the Monday Package, which has all of the necessary components for the code to function. After designing the Custom Labels, the installation MUST be completed.
e) Open this URL to start the Package Installation:
f) Log in with your Salesforce credentials to install the Package
Image: Filling in details of the Custom Label
g) Select the option that you prefer and then click Install.
Image: Salesforce login screen
h) Select the option that you prefer and then click Install.
Image: Choosing who can use the package
i) The installation of the package only takes around 1-3 minutes, otherwise, it will send you an email once it’s finished installing.
Image: Waiting for installation to complete
j) Now click Done and the integration will now be complete! The automation will now work as it should.
Image: Final view of the program
k) To review the components we use, go to “Setup”, and look for “Package Manager” there you can see the Monday Integration Package, which contains all the components we used for the integration.
Image: Package Manager tab
Conclusion
A more involved project would consider multiple sources of appointments, with a similar approach of centralizing information through Salesforce and automating information synchronization availability with AppExchange extensions or with custom Apex development. Reach out to us if the information provided in this tutorial is useful for your project but you have some specific question regarding implementation. We are able to restructure your Salesforce based workplace with different appointment or task management tools with solutions tailored for your specific industry/workplace needs.